Creamy Baked Mac and Cheese
Is there a food more comforting than Mac and Cheese? Asking for a friend…
A stand-alone dinner, a Thanksgiving side, or the perfect side to a juicy brisket or pulled pork BBQ, this recipe will never disappoint.
Before we dive in any deeper, I need you to know that while this specific recipe is guaranteed to satisfy anyone…I would pay less attention to the exact ingredients and flavor profiles and more attention to the technique. We all know mac and cheese can be made 100 different ways, and if you get the technique and rough measurements down, you can whip together whatever combination you want depending on the day.
If you are feeling a traditional yellow mac and cheese with no frills, then stick to just cheddar. Want white mac and cheese? Go crazy using Havarti or provolone! Feeling daring? Add some bacon to the pasta mixture and some crispy bits on top. Like it spicy? Throw some fresh jalapenos on there for the final bake.
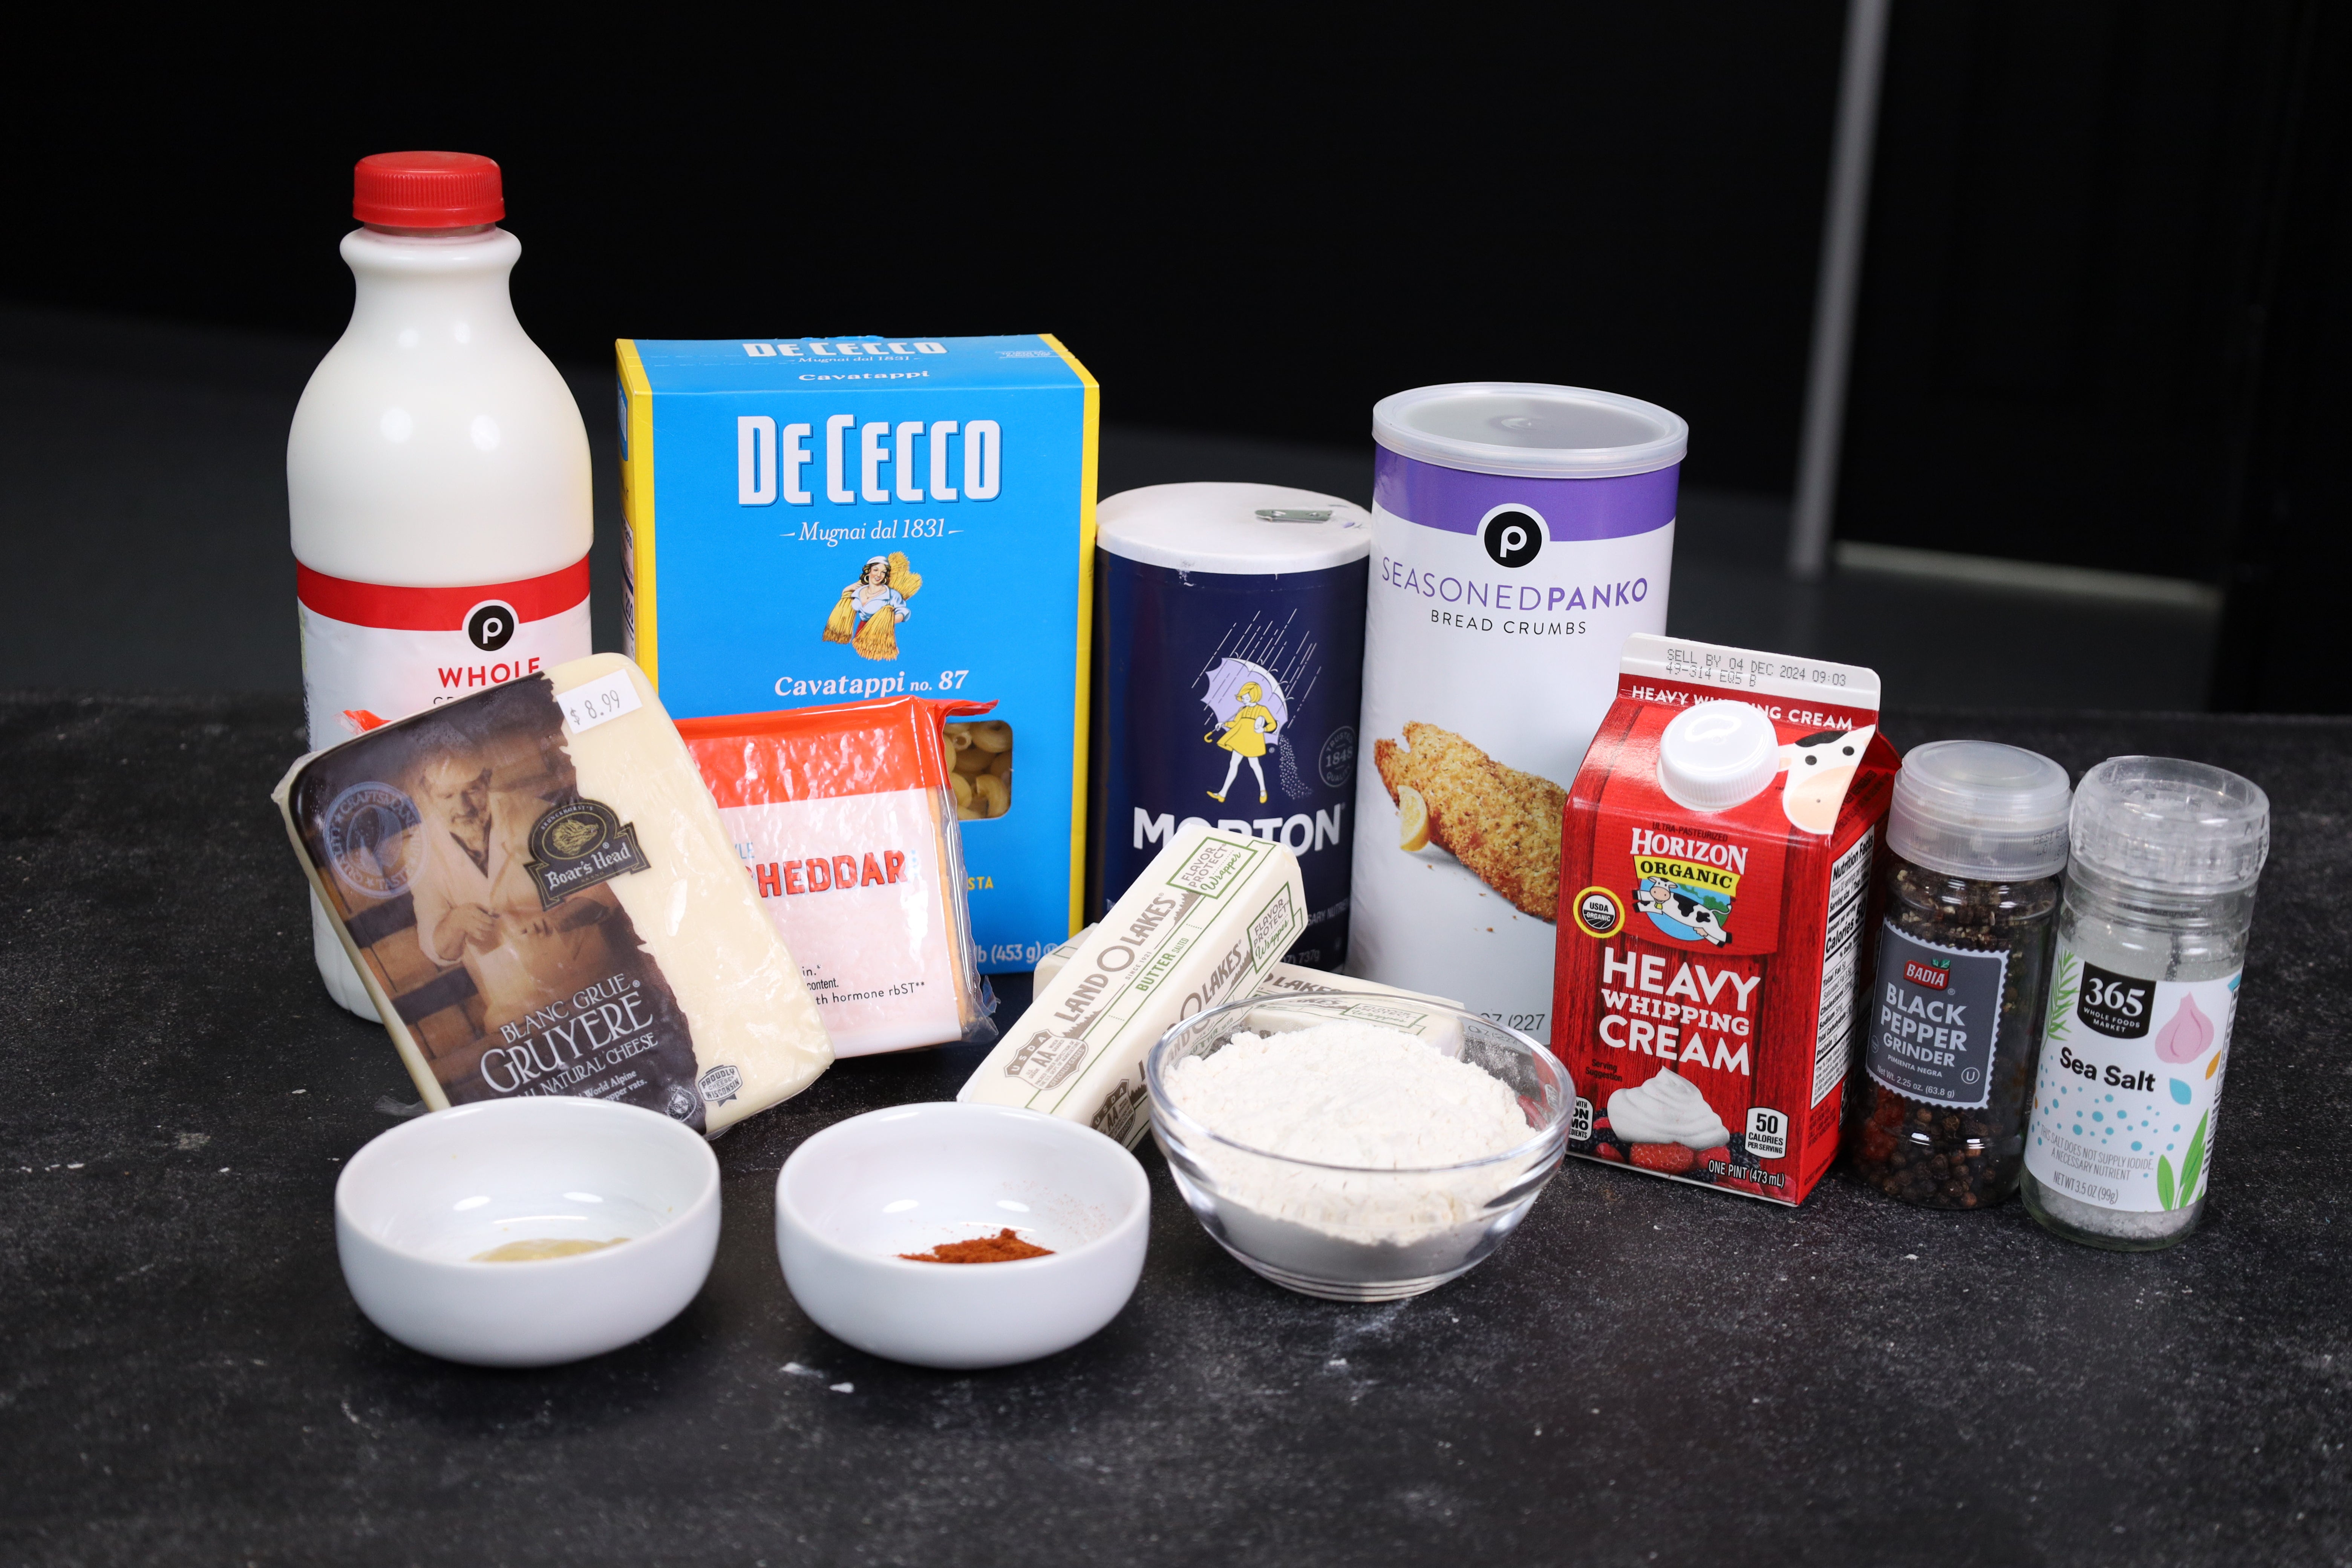
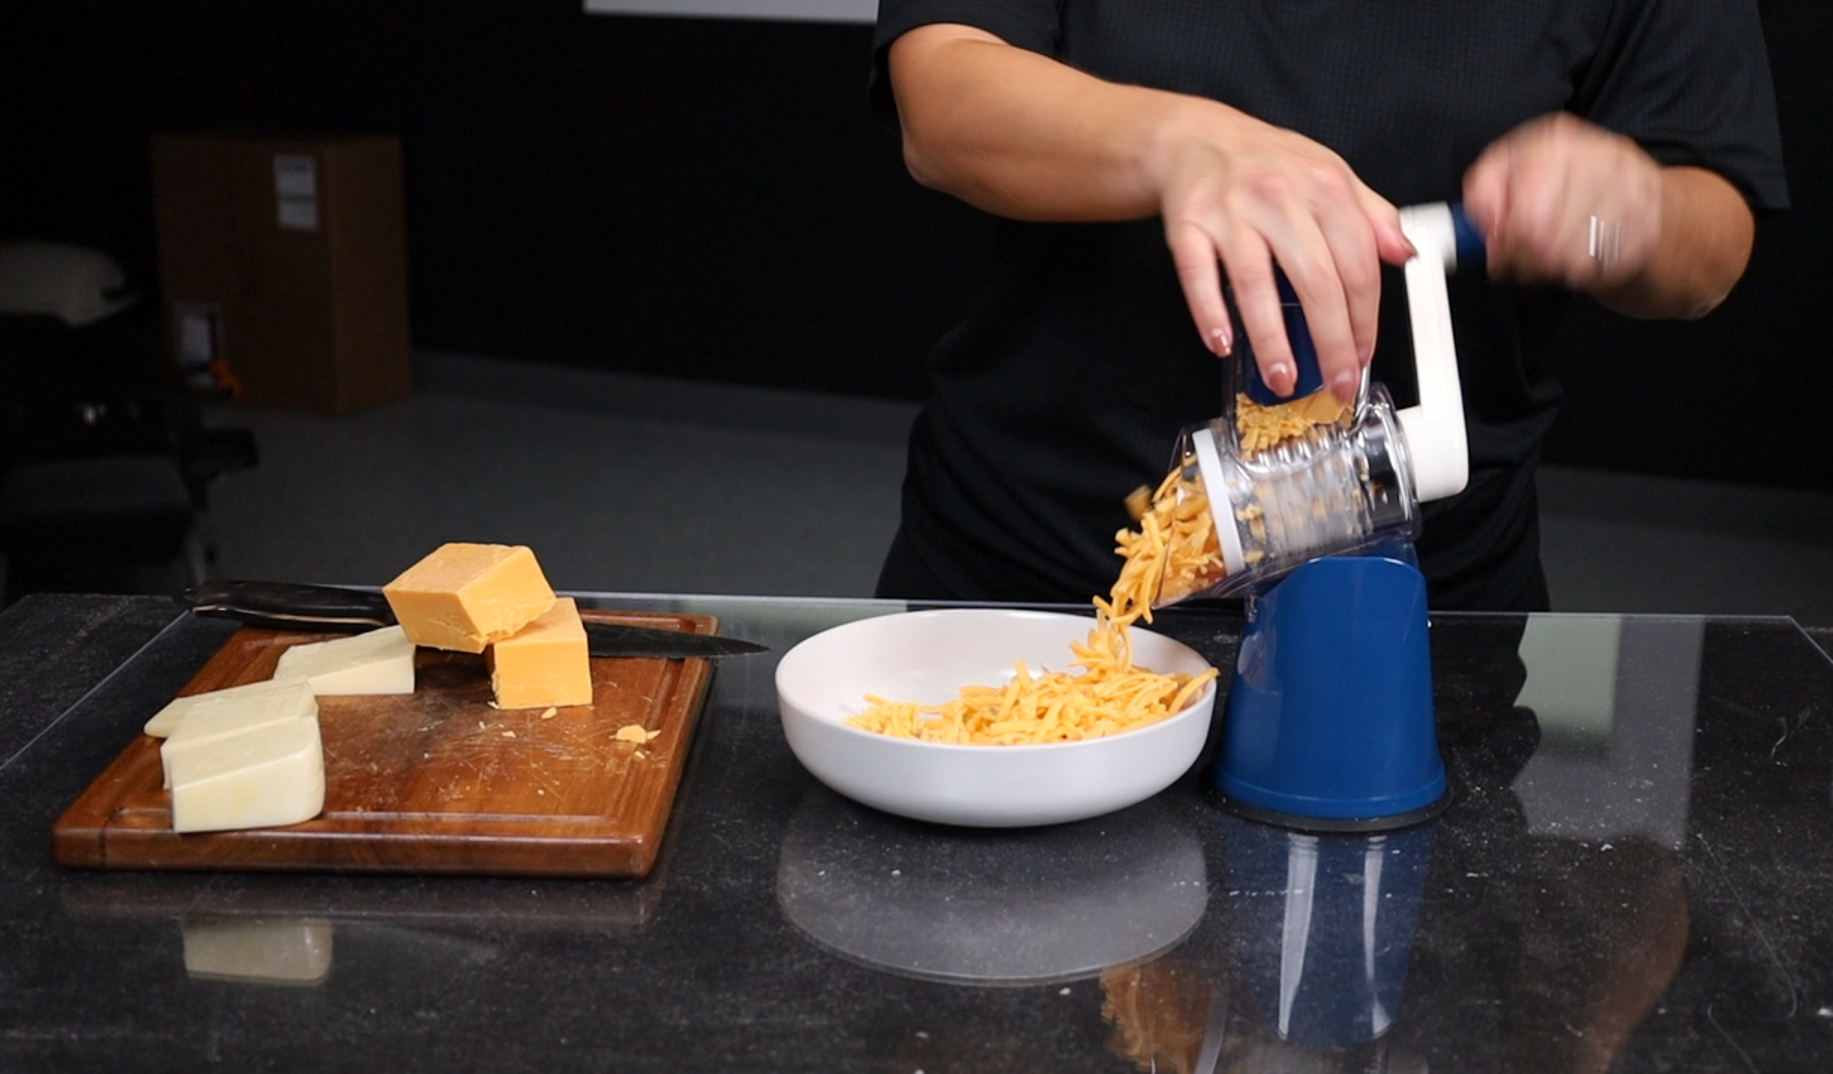
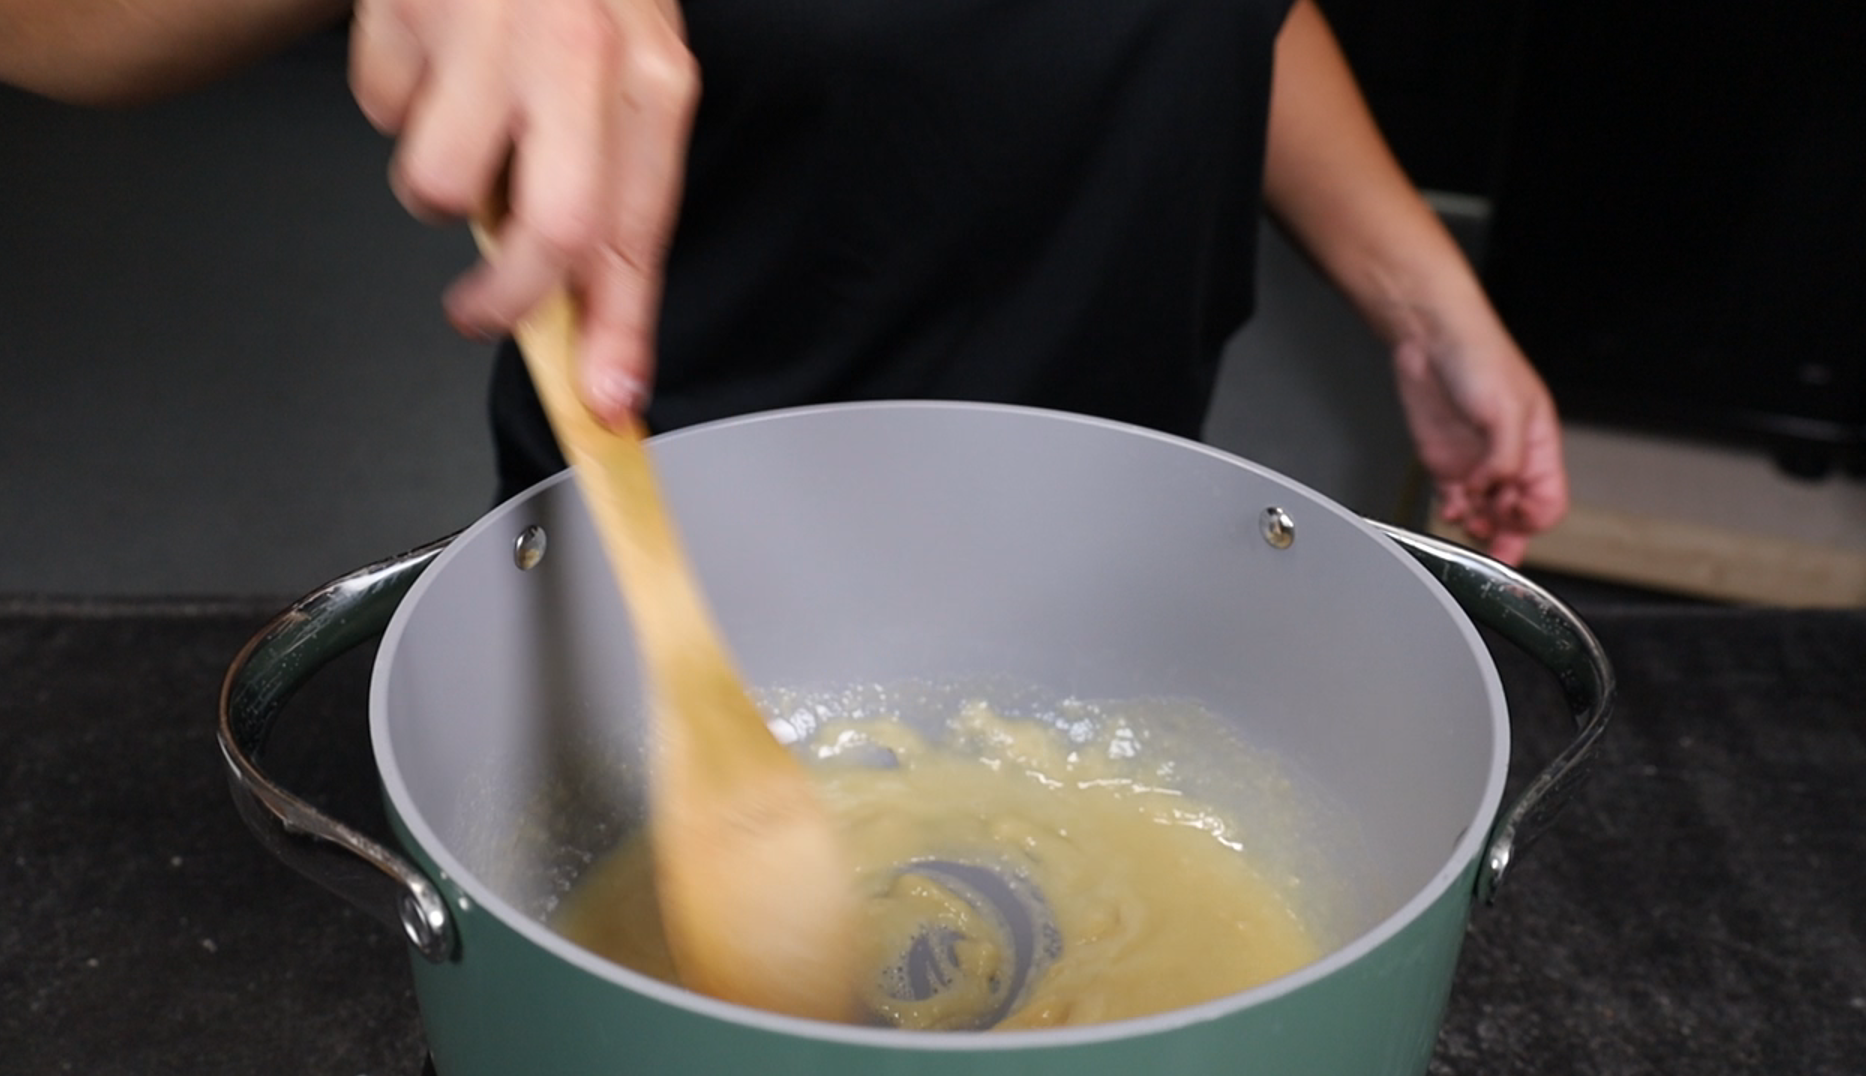
Like I said, there are a million combinations and I could go on forever, but the biggest thing to remember is 1 lb. of pasta, 4 cups of liquid, and 6 cups of cheese. For these amounts, you want a roux that will thicken it just right, which is 1 stick of butter to ½ cup flour. An even easier way to remember how to make a roux is equal parts butter to flour. So if you have 1 tbsp of butter, you can add 1 tbsp of flour.
Once you get the measurements down, then it's time to master the technique. There are some areas when making mac and cheese that could lead to failure…or less creamy results. The roux is important to cook low and slow. You don’t want to burn your flour, but you don’t want it to be raw either so make sure it gets to a nice light brown before adding any liquid because once the liquid is in, that’s it.
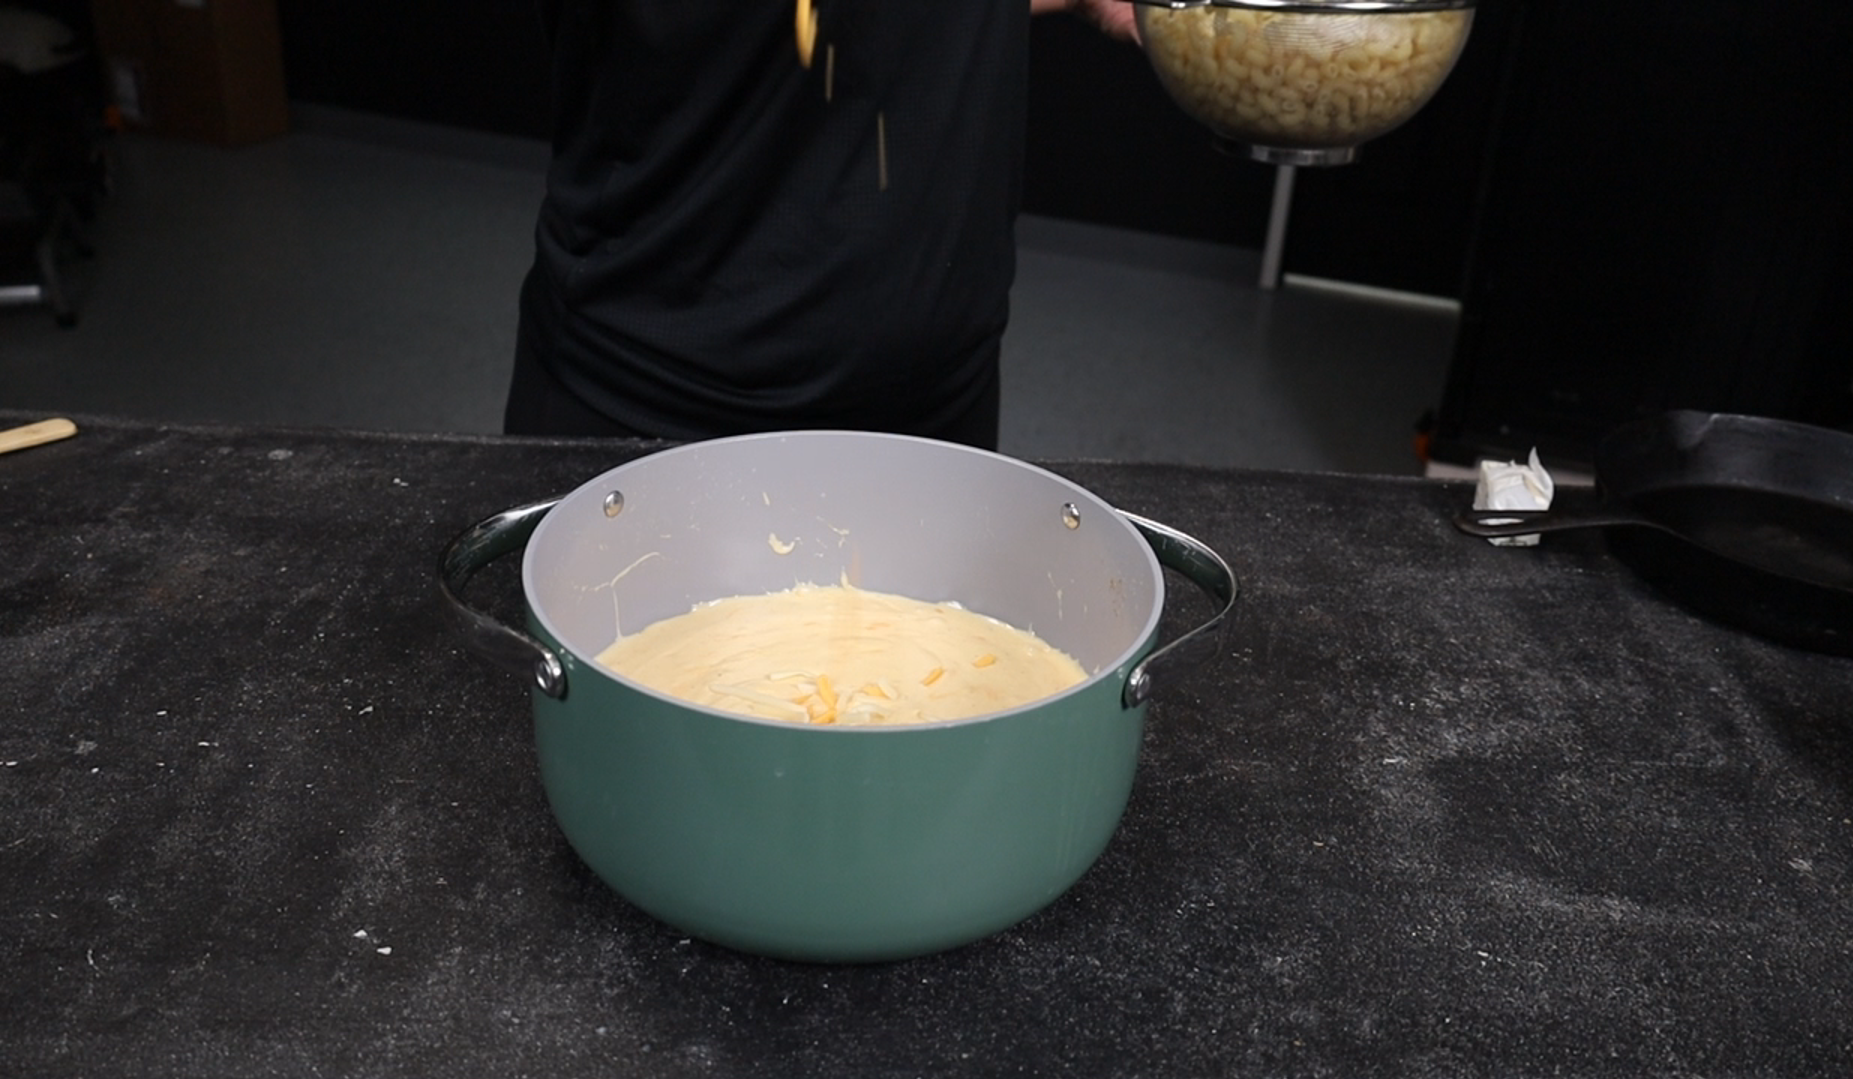
The other area where you can really mess up mac and cheese is when you are adding the cheese. Overcooked cheese can get really stringy and once it’s stringy it’s not going to melt into a sauce or be creamy. The trick here is to take your sauce OFF the heat completely before adding in the cheese. Your cream will be hot enough to melt all of the cheese. Even if it takes a minute for the cheese to completely melt into your smooth sauce, be patient, do NOT put that pan back on the burner.

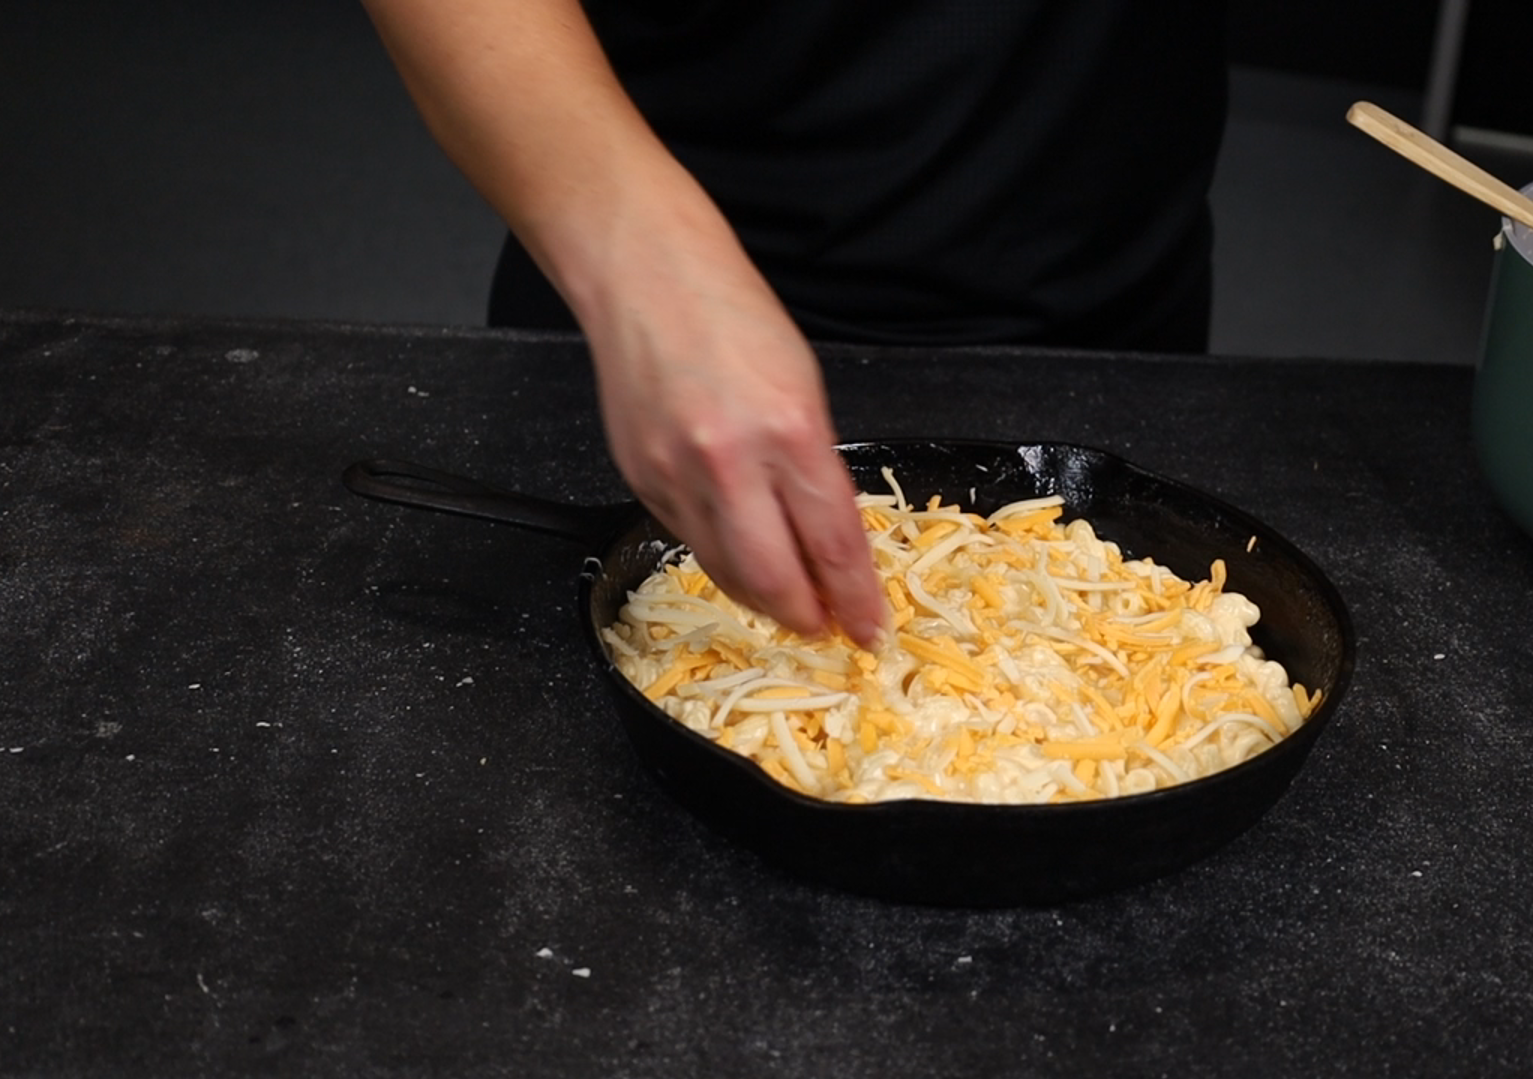
And finally, I am passionate about the final bake. While the creamy cheese sauce over the noodles is delicious straight off the stovetop, I do believe baking the entire dish together takes it to the next level. It gets everything nice and hot, and allows for a wonderfully crunchie topping!
There are some people out there who would claim eggs belong in Mac and Cheese making it more of a casserole you can cut vs. a creamy pasta dish that slops onto your plate. My husband happens to be one of them, and if you agree with him then I kindly ask you to get OUT OF HERE! That is NOT Mac and Cheese! :) Just kidding, everyone has their preferences and this is mine. I hope you enjoy!
And one last note, I don’t think I have ever made any mac and cheese that was like the last. There are so many different cheese combinations that I will probably spend the rest of my life trying them all as I cook for different occasions. This one below is quintessential mac and cheese, the dreamiest creamiest combo. Everyone will be asking for the recipe!
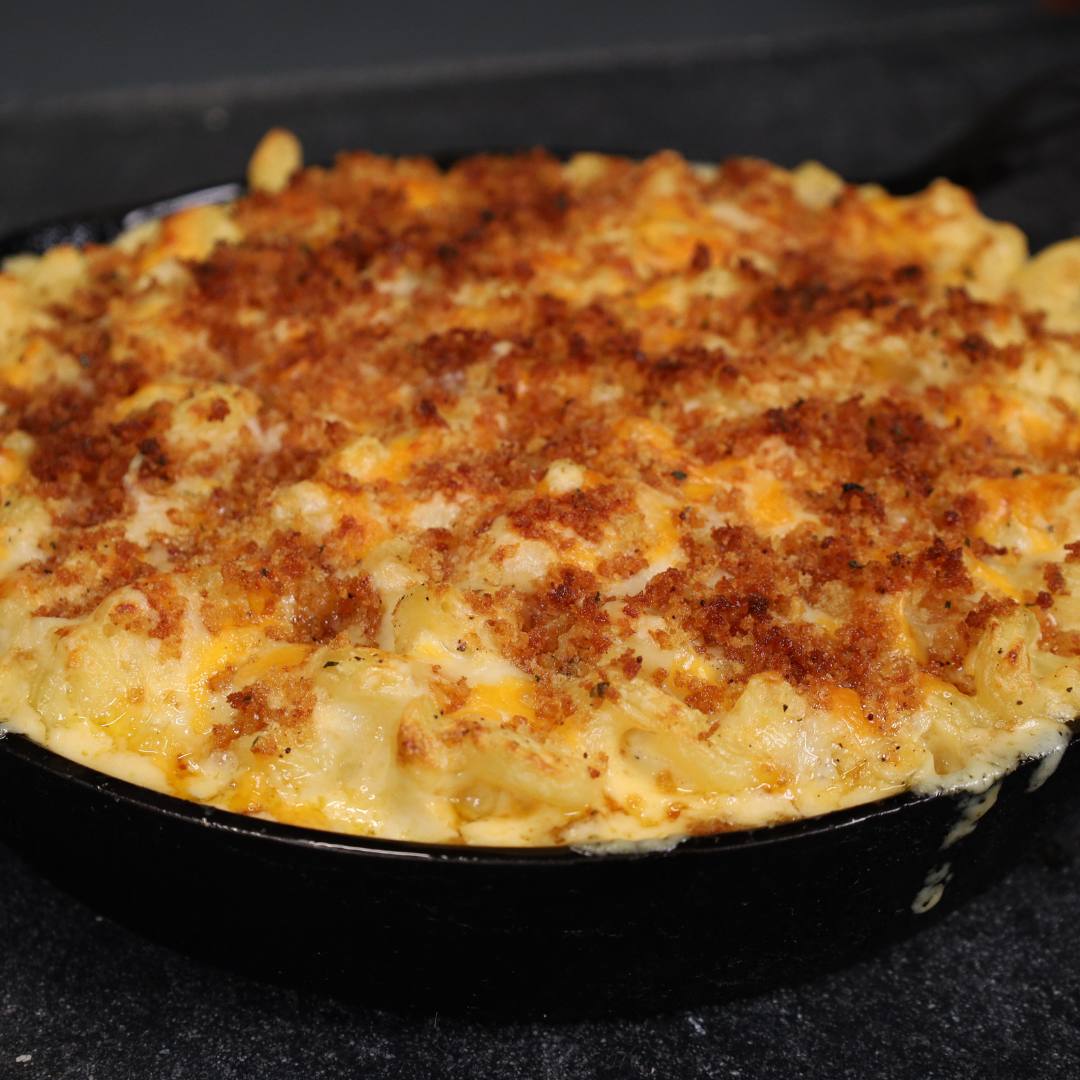
Creamy Baked Mac and Cheese Recipe
Ingredients:
- 1 lb Cavatappi pasta (or any pasta you prefer)
- 1.5 sticks of butter
- ½ cup flour
- 3 cups whole milk
- 1 cup heavy whipping cream
- 1 tbsp Dijon mustard
- 16oz block Extra Sharp Cheddar cheese (4 cups shredded)
- 8oz block Gruyere Cheese (2 cups shredded)
- 1 cup panko breadcrumbs
- 1 tsp paprika
- Salt and pepper to taste
Recipe Instructions
- Preheat your oven to 400 degrees
- Fill a large pot with water, salt the water generously with table salt (at least 3 tbsps.), and put it on medium-high heat to bring it to a boil.
- put it on medium-high heat to bring it to a boil. While waiting for your pot to boil, shred all the cheese using a cheese grater. You can choose to purchase already shredded cheese, but those cheeses are coated with anti-caking agents to keep them from sticking in the bags, which makes it harder for them to melt into a creamy cheese sauce.
- Mix the cheese, and separate out about 1.5 cups for the topping.
- Leave all the cheese on the counter and allow it to get to room temperature, which will also help it melt more easily into the sauce.
- By now your water should be boiling, pour in your pasta and cook it fully according to the instructions on the box. Once taste tested to your satisfaction, drain the cooked pasta noodles and set aside.
- Now it’s time to make your sauce. Start by making a roux by combining 1 stick of butter and ½ cup of flour. Allow your butter to melt on low heat completed before dumping in the flour.
- Once you add the flour mix it in quickly and make sure you get out all the lumps. I prefer to use a whisk for this part but it’s not necessary, a wooden spoon will work just fine. Cook until the roux turns slightly brown in color then it’s time to add your liquids.
- Pour in 3 cups of whole milk, and 1 cup of heavy whipping cream into the roux, and whisk together until completely incorporated and you can no longer see any light brown roux floating around.
- Add in the Dijon mustard, paprika, salt, and pepper to taste. At this point, you could even add in a bundle of fresh thyme for a little extra flavor if you have some in the house.
- Cooking on medium heat, all your cream to warm and start to simmer. Continue stirring while the mixture starts to thicken. You will need to cook this down for about 15 minutes or until the back of a wooden spoon is completely coated with a thick creamy substance.
- Remove from heat and start adding your cheese, one handful at a time. Whisk in each handful allowing it to melt completely before adding in more.
- Once all cheese has been added, pour drained noodles into your cheesy sauce and stir until everything is coated. Set aside.
- Melt ½ stick of butter in a small skillet then add your panko breadcrumbs to brown on medium heat. This should take about 4 minutes stirring consistently. Once browned to your liking, take off the heat and transfer into a cool dish immediately.
- Time to assemble and bake. Butter all sides of a large cast iron skillet. Pour half the cheesy noodles into the skillet, top with half the 1.5 cups of cheese you saved to the side, then pour the remaining cheesy noodles on top until you reach the top of the cast iron skillet.
- Top with the rest of the shredded cheese (it should cover the entire top), then sprinkle with your browned breadcrumbs.
- Throw the entire skillet into the oven for 20 minutes. It should be browned and melted on top with bubbling sides when it's ready to come out. If you like it more brown you can broil it for 2 minutes before taking it out of the oven.
- Serve piping hot.
- Note: This can be reheated as well, but I suggest using the oven at the same temperature for less time to keep your cheese sauce from splitting.


